If you've followed my blog at all, you already know that I came up with a
work around solution for watermarking images on Apple iOS devices using the photo sharing site
smugmug. You can imagine my frustration when you follow the directions to a "t" and the darn thing doesn't do what it's supposed to do. The easiest and, from my experience, most efficient app at watermarking images on the iPad 2 and iPhone is an app called
iWatermark. This app works absolutely well when creating a generic text watermark using built in fonts. The problem was in creating a custom image watermark with a transparent background.
According to Plum Amazing, the creators of iWatermark, the way to create a transparent graphic watermark is as follows:
 For Graphic Watermarks you can use any graphic. Graphics are either photos that you have taken or graphics that you have created on the iPhone or imported. The signatures we include are .png files. PNG is a format that allows the background to be transparent. Check out the FAQ (below) or Google 'png' and 'transparence' to learn more about making these files. You can make a .png file of your signature and import it to use on your photos.
Once you have imported your graphic watermark you can act on it with any of the items in the edit menu on the left/bottom side of the screen. Change the angle, scale, opacity, etc. To move the watermark just touch it with your finger and drag it wherever you want.
Great! This sounds exactly like what I want to do and I should have no problem since I do A LOT of graphic design for my day job. So, I create the PNG files according to their specifications, alpha channel turned on, and add it to both my
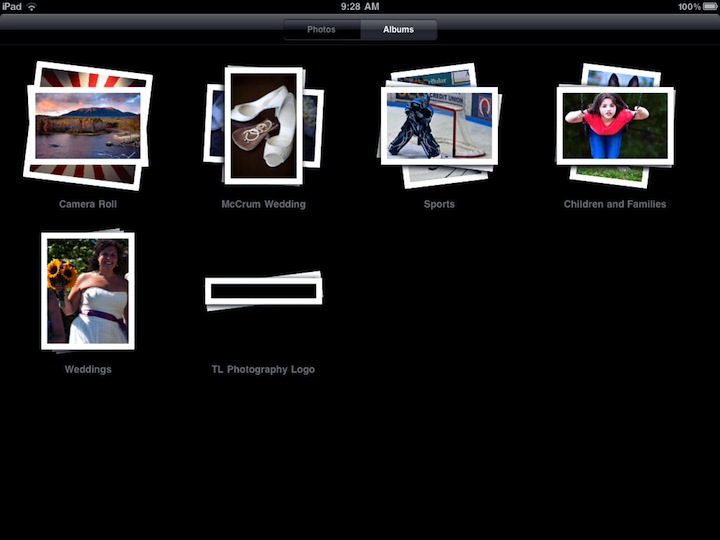
dropbox folder and iPhoto in order to sync the file onto the device. You can see the files in the images above and that there is now an album in the Photos app on the iPad named TL Photography Logo that contains seven PNG files.
The first thing I noticed about the individual PNG files is that they all have black backgrounds. How could this be? After some pretty extensive research, I was unable to find a definitive answer but my assumption is that iOS is converting any PNG image processed through iTunes or transferred from any app into a jpeg. When I tried to use one of these as a watermark in both iWatermark and
Photogene, the black background remained. After many hours of trial and error and several emails to iWatermark technical support I found that I had discovered a fairly unique flaw in the way that iOS handles PNG images. I wasn't the only one who had experienced this issue. I came across some forums where a similar question was posed but I never found the issue resolved for anyone else.

This bothered me so much because part of the reason I even owned an iPad was to use as a photography tool while traveling. Since I watermark my images before posting to Facebook and my blog, not being able to do so was too big of an issue for me to keep the device and I ended up selling it.
Fast forward a couple of months, and with the ugly breakup of my first iPad behind me, I was able to reconcile the issue because I figured out how to use smugmug's watermarking service as a way around the lack of transparency support in the Photos app in iOS 4. Well, I've owned the iPad 2 for a little over a week now and thought I would revisit the issue to see if anyone had come up with a solution. Zip. Nada. Zilch. Well, on a hunch, and probably based on my extensive trouble shooting background I wondered if downloading a transparent PNG through the Safari app would make any difference since I couldn't recall trying that approach. So I navigated to my blog and downloaded the header, which btw is one of the same PNGs in the Photos app. Next step is to take a look at the PNG in the Camera Roll and... WHAT THE?!?

If you take a closer look at the Camera Roll you can see that there is something definitely wrong with the PNGs downloaded via Safari. There seems to be an overlay of other images instead of my logo watermark. Since this was a different result from anything I'd seen before, I figured I'd give it a shot in one of the watermarking apps to see if it worked. GUESS WHAT!! I'm not exactly sure why or how but I do know that FINALLY it works the way it's supposed to. You can see the final watermarked image edited entirely using iOS and iPad apps without needing to be connected to the internet.
In this case, persistence paid off. I'm guessing that so few people actually need this type of functionality that Apple would never give it any attention. In my case, this made re-purchasing the iPad a bit more gratifying and allowed me to put another
feather in my cap.